
Creating your first helloworld ABAP report in SAP
Now that you have logged into SAP it is time to create your first ABAP report and get it to display some simple "helloworld" text.
Simply follow the simple steps below to do this.
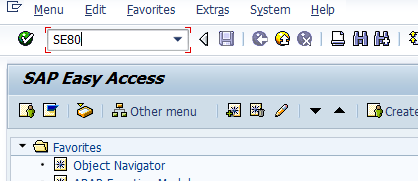
Step 1 - Execute transaction SE80
The first step is to execute transaction SE80 by typing it into the command box in the top left hand corner. This transaction encapsulates all the development
technologies in one place. Yes there is a dedicated transaction SE38 to create reports/programs but SE80 does everything that that does and getting used to it will
mean all your developments are done in one place once. Then when you get to developing technologies like BSP and Web dynpro which are only accessed via SE80 you will
be very familiar with this transaction.
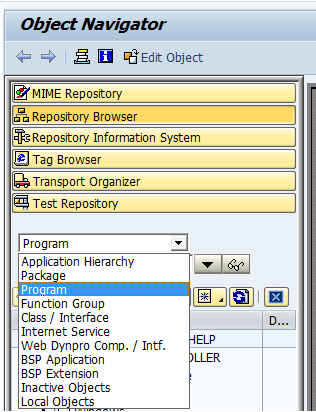
Step 2 - Select Program / Report
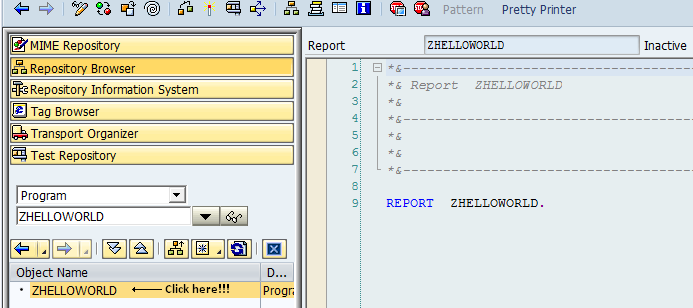
Now select "Program" from the drop within the 'Repository Browser' section
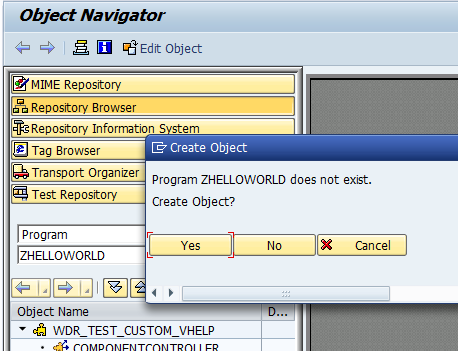
Step 3 - Give the Program / Report a name
Now enter a name for your report starting with the letter Z, i.e. ZHELLOWORLD and press enter followed by yes.
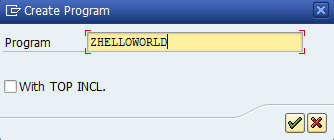
Un-check the 'With TOP INCL.' and press the green tick
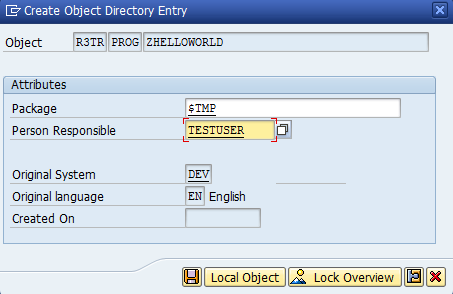
Now simply press save on the next attributes screen

On the following screen just leave it as a local object($TMP) and hit the 'Local Object' button, but be aware that this means it is not transportable to the next(QAS??) system and will not
ask you for a transport to assign the program too. This will be covered in a future lesson!!
Step 5 - View new program
Now double click on the new program name in the left hand colum and the current code will be displayed on the right
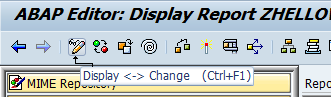
Step 6 - Change program code
Now press the change icon and put the program into change mode
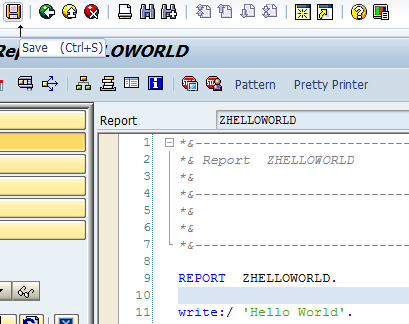
Step 7 - Add code to display helloworld text
Now add the following line of code to your program and press the save button. Just for info the '/' after the write: statement instructs the
text to be on a new line
write:/ 'Hello World'.
Step 8 - Activate and test code
Now press the Active button  followed by the test button
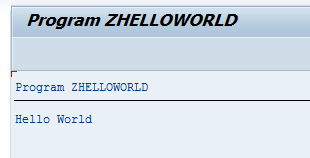
You should see a screen similar to the following showing the Helloworld text or what ever text you have entered into the write statement.
Step 9 - Further reading on the write statement
Now you have implemented a simple write statement you can check out this page for more information on the write statement
SAP Check statement