
Adding an new step to the basic Floor plan manager application
This guide follows on from the previous one which shows you how to
create a floor plan manager application in 4 easy to follow steps.
I will now show you how to add more steps to the application.
Step 1 - Goto application configuration page
New steps are added within the application configuration page so once you have created the
basic FPM application simply return
to the Application configuration page within the FLUID (Flexible User Interface Designer)
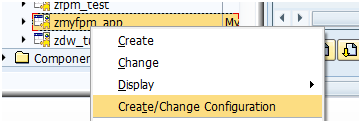
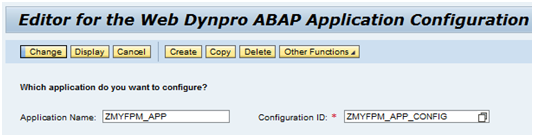
If you nolonger have this open, via SE80 find the application you created previously(within FPM_GAF_COMPONENT WDP component),
right click on it and select "Create/Change Configuration"
Within the FLUID Press change
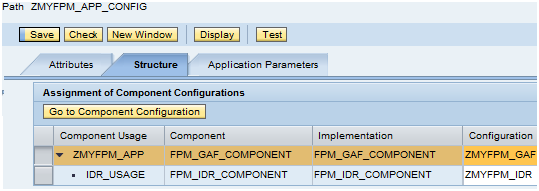
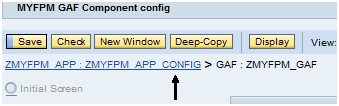
Select the FPM_GAF_COMPONENT and press 'Go to Component Configuration'
Step 2 - Add Second tab to your GAF based FPM application
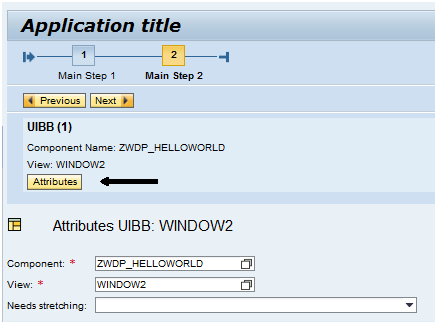
Once within the component configuration click the Add Main Step button, a new step will then be added instantly to the application.
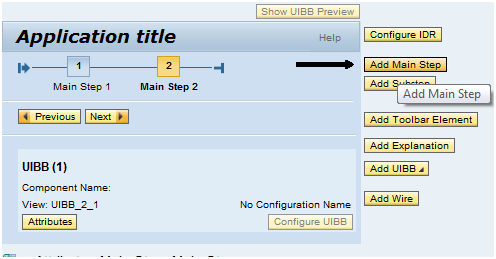
If you saved it now you would get an error as each step must be assigned a WDP component and View/Window
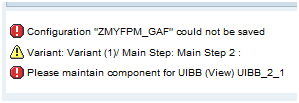
Click on the Attributes button within the new step and add your WDP component and View details.
Reference the second View/Window that you created earlier.
Save the configuration and you should get the data saved successfully message

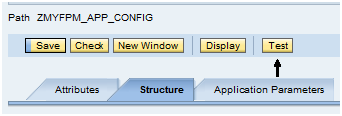
Step 3 - Test your GAF based FPM application
Return to the previous screen within FLUID using the breadcrumb link
Press the test button
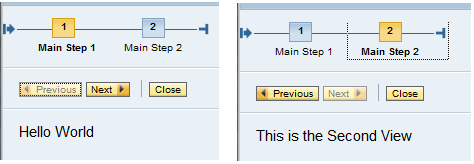
You should then see the following screen containing the steps from the FPM side of things and the differnt text values
from the custom helloworld WDP views/Windows depending on which step you are in.
Create basic GAF based FPM application